
|
|
Changing Background Image
Choose any image whose background you like to change. In this case I have chosen an image of my friend.

Next you have to follow few following simple steps:
1. Selecting: Make selection by polygonal lasso tool (L key) of the image which you want to add.


2. Inverse: After selection, go to select menu and click on inverse and press DEL key to remove unselected part of image as you have to add another background image.


3. Open another image: Now open another image to add as background image. Here, I have taken a sunset image.

4. Select Background: Again make selection of the image and go to select menu, click on inverse to select background as I have selected here.


5. Copy another image: Copy the image you want to make as background. Select all and (CTR + A) and copy (CTR + C)

6. Add Background image: Now, go to edit menu and click on paste and your file will spread into the selected portion.

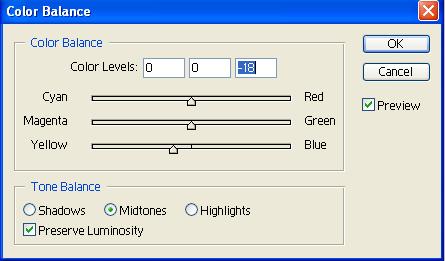
7. Color Adjustments (Optional): You can use some color adjustment according to the background you have selected. In this case I have added some yellow color to the main image since the background is bit yellowish.

Your final image will look like this:

So, have fun with this simple technique of changing background and try it. Thanks.......


This tutorial on changing the background of an image is really informative and practical — especially for those who want to learn more about how Photoshop works step by step. I like how you show the process clearly so readers can understand how to separate subjects and replace or remove backgrounds without feeling intimidated. Background editing is such a useful skill for creating professional photos, graphics, and visuals for websites or social media, and your instructions make it feel achievable. For readers who want even more detailed techniques specifically for Photoshop, I also recommend checking out How To Remove Background In Photoshop. That guide dives deeper into tools, methods, and tips that help you get more accurate and polished results when removing or changing backgrounds. Together, these resources give a fuller picture of how to improve your editing skills and achieve cleaner, more professional images
ReplyDelete